One of the most important and overlooked matters to consider to prevent untold frustration in observational and imaging astronomy is being able to easily, quickly and reliably find the object you want to observe or image. The smaller the field of view of the telescope/camera/eyepiece combination, the more difficult and important this becomes. When you factor in the fact that the subject may not yet be in proper focus it is clear that just pointing the telescope in the direction of the moon, planet or object and hoping that it will be in the field of view (FoV) is a forlorn hope and leads to great frustration whilst you are hunting around trying to get the object both in focus and in the FoV. I’m a mild natured person and even I have been found cursing at the EP on many occasion trying to do this!
With the advent of relatively affordable and excellent telescopes of the Schmidt-Cassegrain (SCT) design from Celestron, Skywatcher and Meade, their long focal length presents challenges in getting the object in the FoV. You can be moving the telescope, either manually or via the handset/computer, seemingly for an age, trying to get the blasted object in the centre of the EP or camera! The more powerful the eyepiece, or smaller the chip of the camera, the more difficult this becomes. It doesn’t take long, especially when cold, to become utterly exasperated by this process and I have been known to give up and storm off back inside the house in frustration!
A great example is in the case of planetary work. The planets are a great distance from us and as such present a tiny angular diameter on the sky. Rarely can any planet be more than 45 arc seconds in angular diameter and they are usually much smaller than this. For example, a popular target such as Mars is often as little as 10 arc seconds across, the equivalent of observing a US nickel or a UK five penny piece 300 metres away. By way of comparison, The Moon is 1800 arc secs across. Consequently, to get an image on the camera or be able to get the planet into a position to be able to see details on its surface requires a great deal of magnification along with good seeing with a long focal length telescope. Even then, it is not uncommon to combine this with a Barlow lens of power x2 or x3 (or more) to create a F20 or F30 optical system in order to see more detail. So it is no wonder that when imaging/observing with such a long focal length and at such high power, getting the image onto the chip or into a high-power eyepiece is a challenge and can be an exercise in frustration. The answer to this is an accurately aligned finder device so that you can get the object into the FoV of the low powered finder with an assurance that it will then be visible in the main telescope.
Even though you may be impatient to get observing as soon as possible, getting the finder properly set up and aligned is well worth your time.
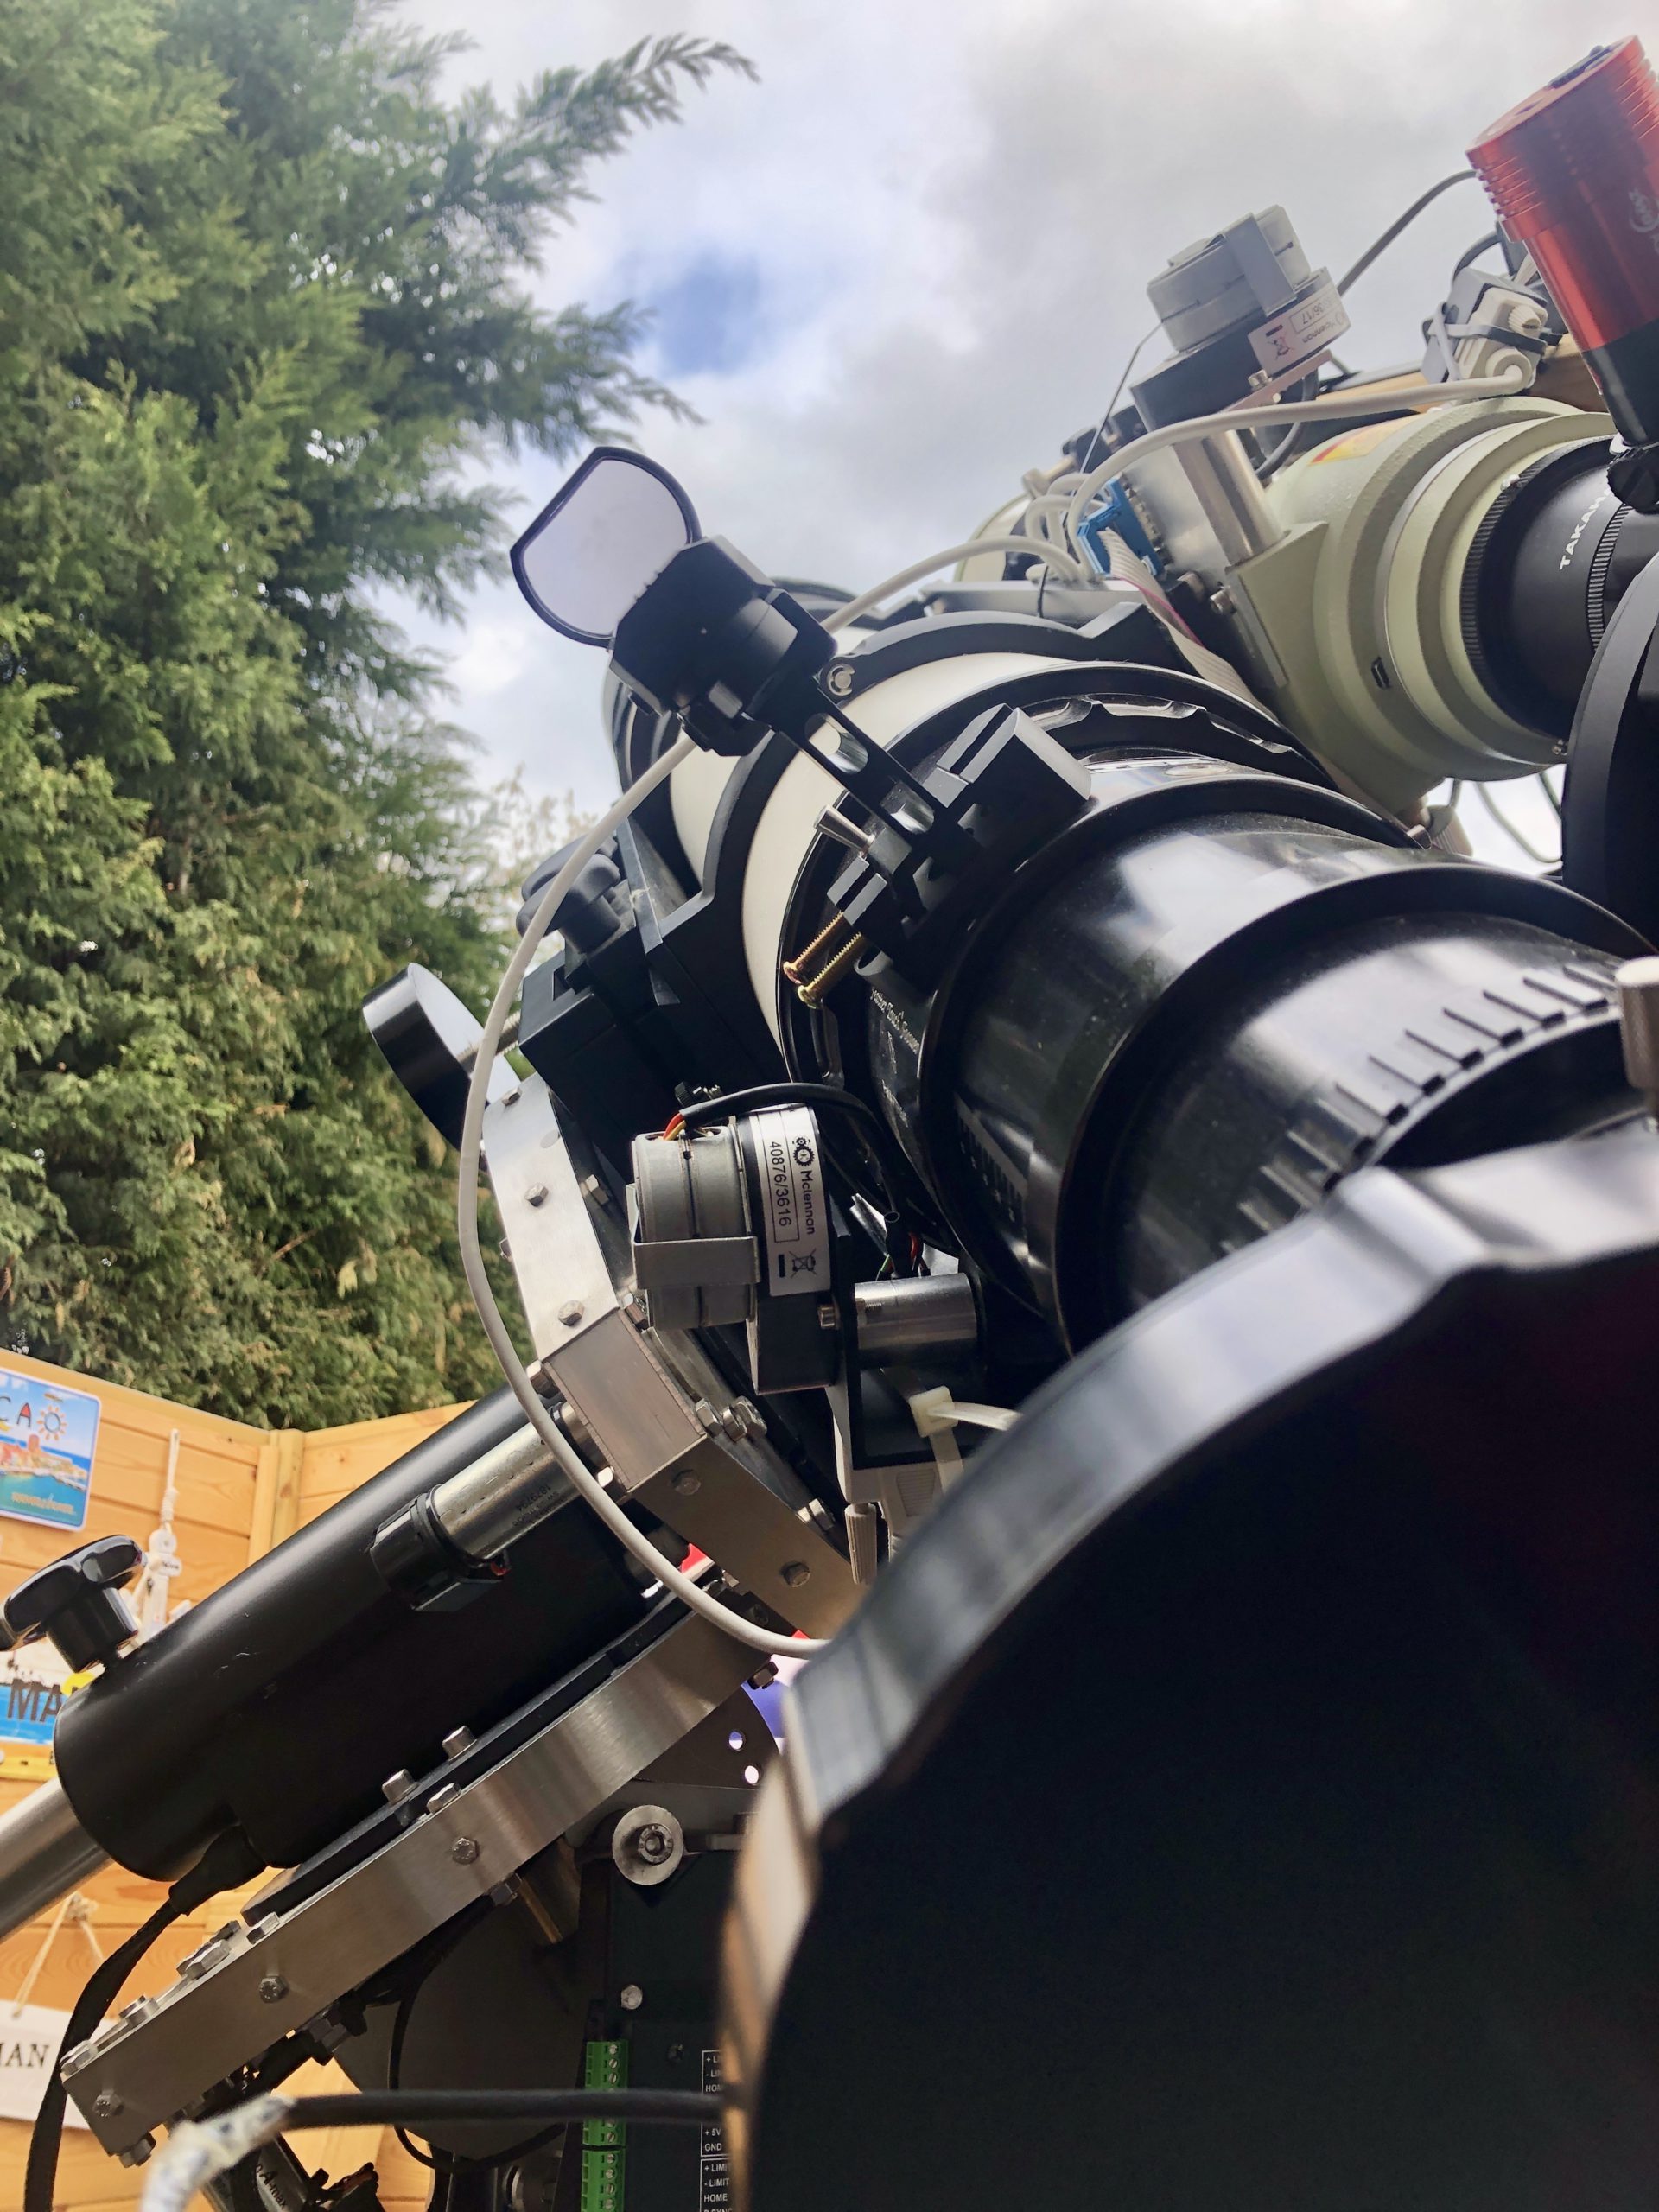
People use and prefer different types of finder scopes. Whatever type you use – I prefer Telrad’s and red dot finders – getting them aligned with the optical axis of the telescope is the important factor, as discussed.
How accurately do you need to align it? That depends on what you want to generally observe. If you are using plate-solving for deep sky astro imaging and never use the scope visually then you may need no finder at all and you can leave the iterative plate solving process to automatically align the scope. However, for planetary observing and imaging you need to get the finder as accurately aligned as possible.
Here is my procedure and it is the same whatever the type of finder device you use; Telrad, finder scope or red dot finder. And before you start make sure the finder scope is VERY sturdily mounted to the main scope. Any bump or movement of the finder with respect to the main scope will ruin the alignment of the finder with the optical axis. It is very frustrating to complete the procedure, congratulate yourself for a job well done, get ready to observe only then to inadvertently bang the finder out of alignment!! Doh…!
- Use a wide field EP and select a bright star and then get this star into the centre of the FoV of the telescope. It often helps to de-focus the star so you can see the concentric rings so as to judge the centre of the FoV. This is the most frustrating step of the whole procedure so take your time and remain calm! 🙂
- Now align the finder device – whatever type it happens to be (i.e. Telrad/Red-Dot/Finderscope) with its adjustment screws to get the same star centred into the FoV of the finder device. TIP. Do yourself a favour and be sure you are aligning on the same star that is in your main scope! Without kidding you, I have aligned the finder on a different star before and then wondered why I couldn’t find anything!
- Put a mid powered EP into the main scope. You will often note that the star that you centred in step one is no longer centred or, in some occasions, has moved out of the FOV. this is because the higher power of this second EP amplifies any error of what you thought was an accurate centering in step one. The defocus of the star in step 1 will make it easier to see whether the star is outside the FoV so you can bring it back into the centre more easily.
- Now that you have the star in the FoV of the main scope readjust the finder a second time to get the star into the crosshairs or in the middle of the red rings or dot.
- Optionally repeat this procedure with a still higher power EP to further refine the finder’s accuracy in alignment with the main scope. The more accurately you can get the finder aligned with the main telescope the more enjoyable and easy it will be to use your telescope. Trust me, it is worth this time you are spending here.
To give you an example. When I do this procedure with my Celestron C925 SCT scope, I will first use my Televue Panoptic 35mm EP in the telescope. Now, consider that with a Celestron C925 even this EP is quite a reasonable magnification of 67. Hence without the finder this can take some fiddling (and cursing) to get a star into the C925’s FoV because the FoV of the EP – even though it is a wide-angle EP – is quite small with the C925’s 2350mm focal length. I then get my Telrad finder aligned with this same star. I then move to my Radian 17mm EP (138 magnification) to further refine the guider then followed by the 17mm with a X2 Powermate (276 magnification) to finally refine it. I will do this procedure on my permanently mounted scope every six months or so. Clearly, any knock, bang or movement of the finder will ruin its alignment and the procedure will have to be repeated.
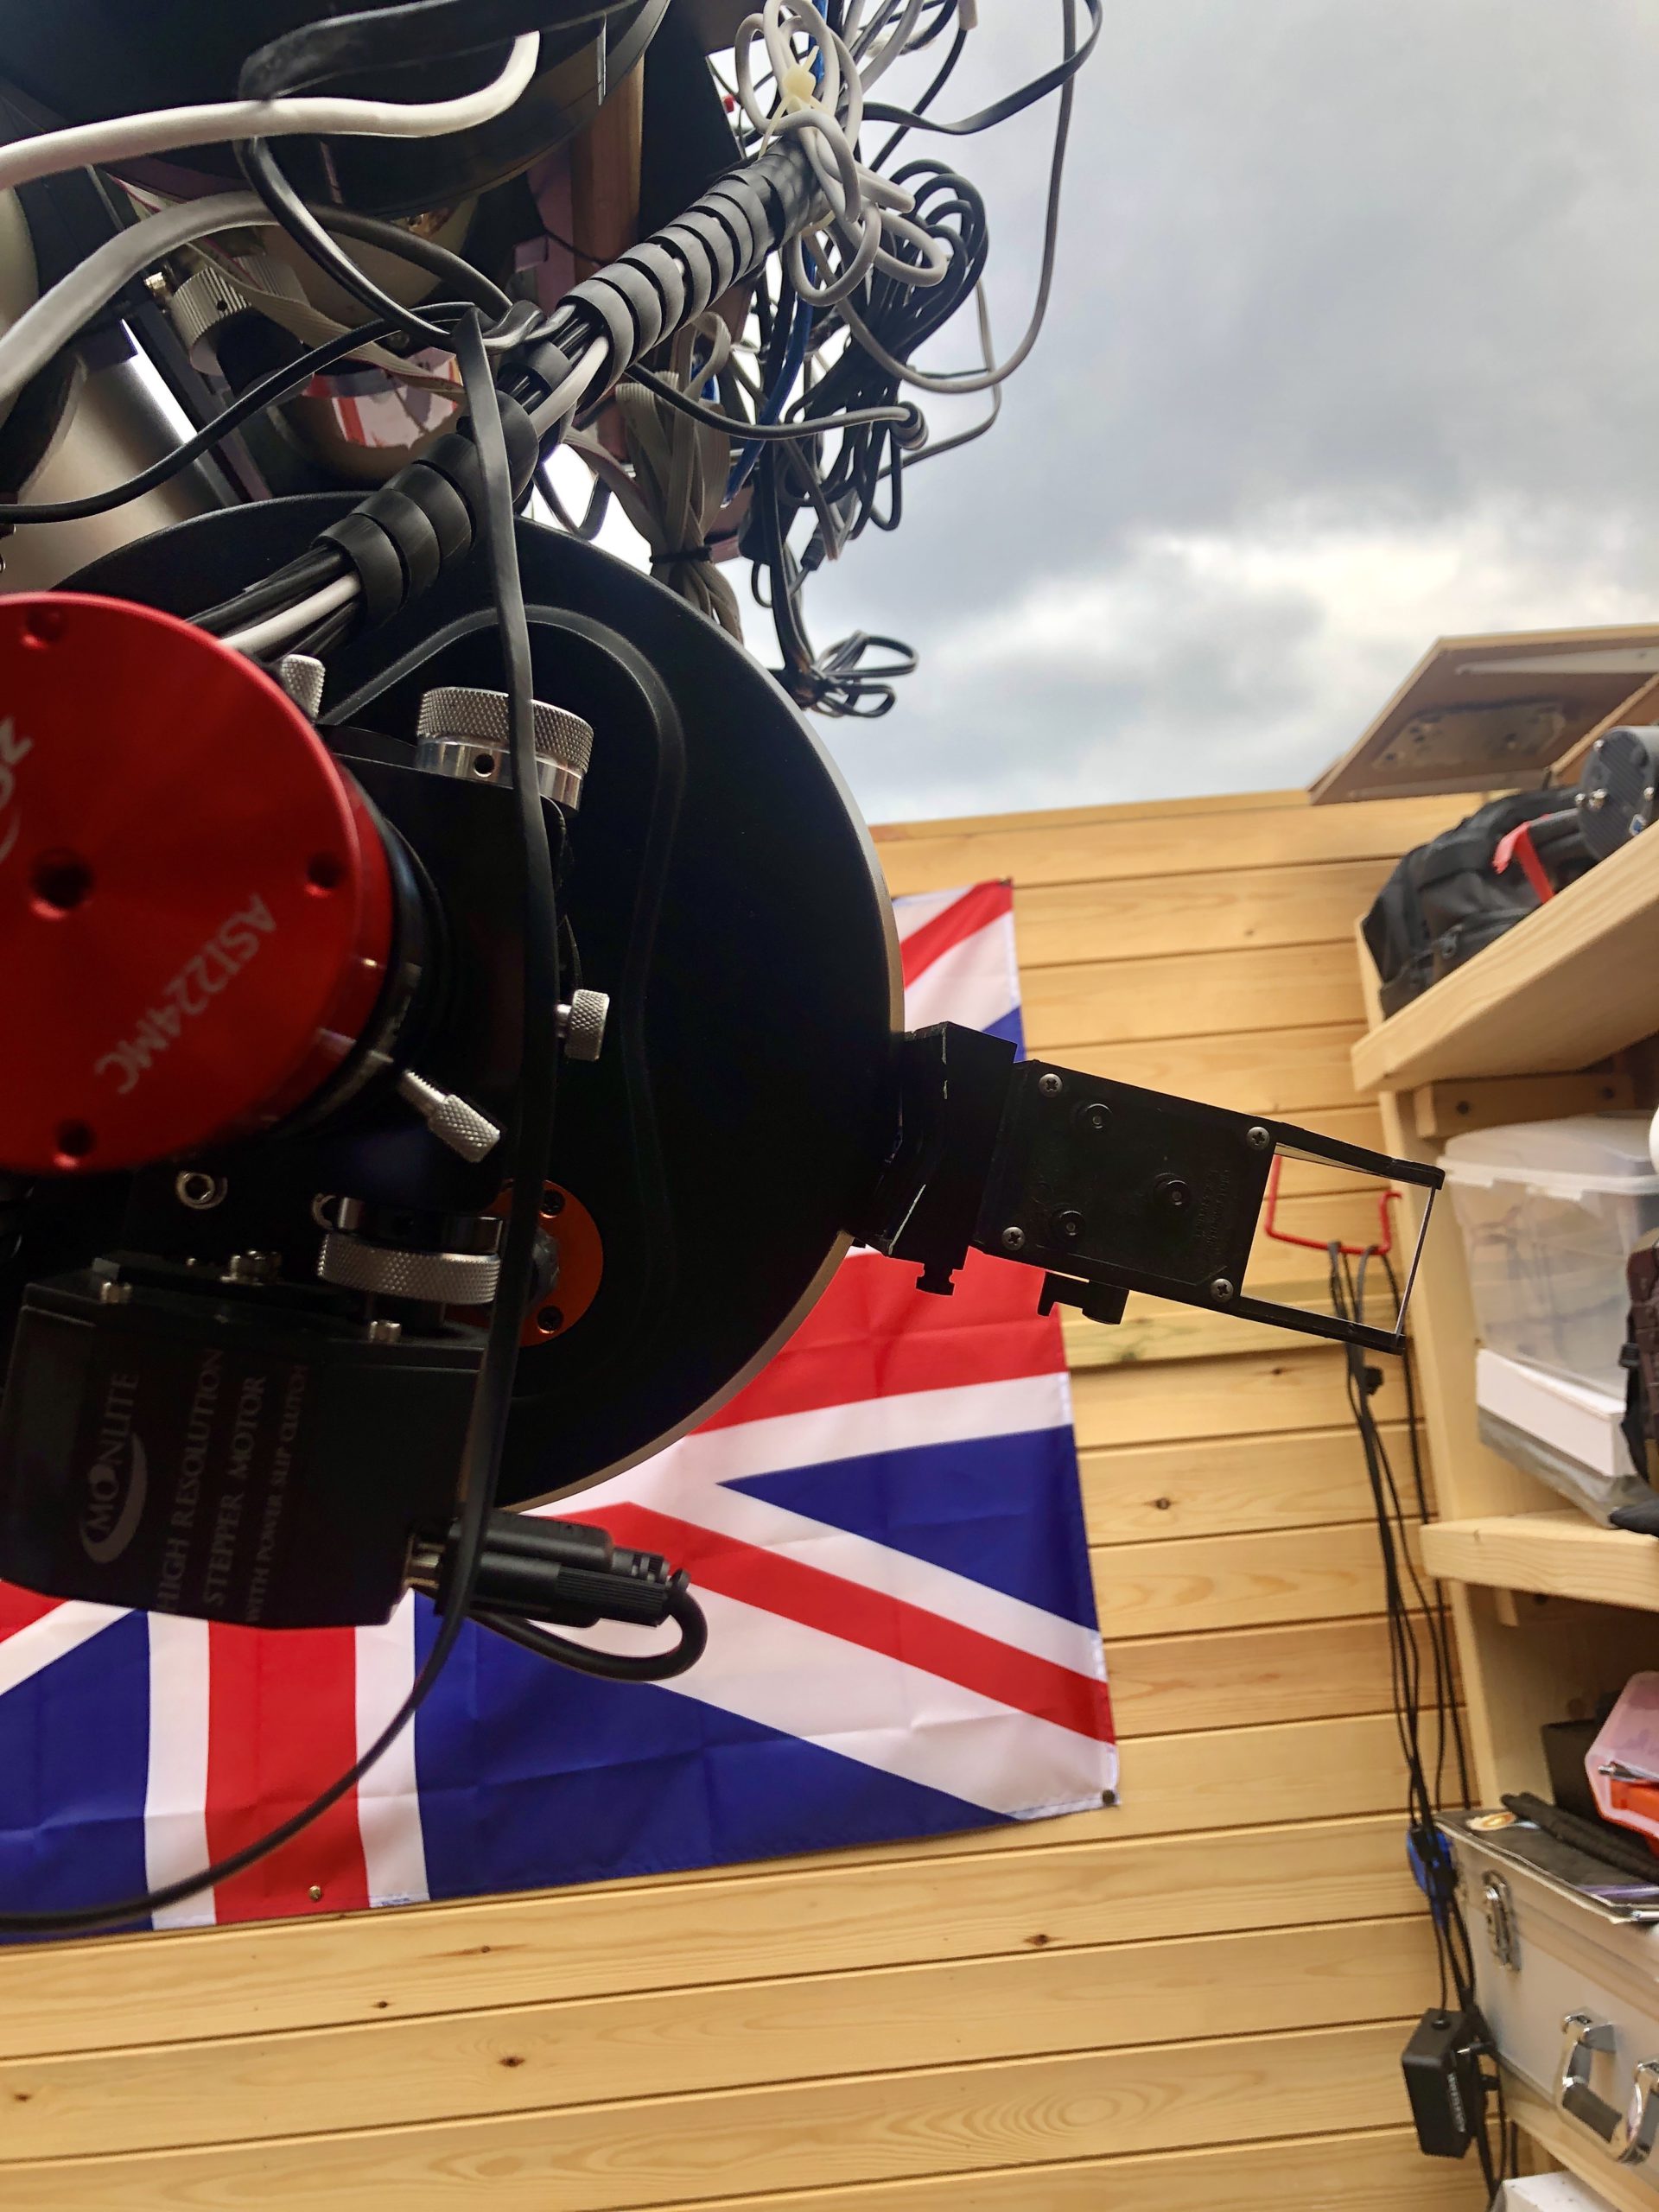
I have finders on all of my telescopes that I use. I use a Telrad on my C925 SCT and a Red-Dot Finder on my TEC140 and on my FSQ85. I also have another Telrad on my 12″ Dob reflector scope. These devices are not expensive and are crucial to the enjoyment of your telescope.
I hope you found this article useful and that I have convinced you to invest the time in a properly aligned finder device!
Clear skies!


