Cameras

Unboxing, Impressions And Initial Setup Of QHY268C and OAG-M

Introduction And Rationale For Purchase

QHY268C on FSQ85
QHY268C on Takahashi FSQ85. Note the totem pole of adapters to the right of the QHYOAG-M in order to get a screw fit onto the FSQ85 focuser

I am already a very happy owner and user of two CCD mono cameras and associated filter wheels; an Atik 460 CCD with EFW2 and a Moravian Instruments G2-8300 CCD camera.  I have been very pleased with the performance of both, I enjoy using them and will continue to do so.  I have connected my Moravian CCD for use exclusively on my Samyang 135mm lens and it is semi-permanently attached to it.  I have my Atik460 semi-permanently attached to my TEC140 scope.   I do not want to disturb these two hardware arrangements.  However, this leaves me without a camera for my excellent Takahashi FSQ85.  So with this in mind I needed to acquire a third, cooled, astro-imaging camera.

I considered buying a QSI683 CCD or maybe an Atik 8300 chip CCD camera.  However, I think the era of CCD in amateur astrophotography is coming to an end and CMOS appears to be the strategic direction with the development of bigger and more sensitive imaging chips.  I do not want to make an unwise investment in another CCD camera so I started my investigations into the popular CMOS based cameras from the Chinese QHY and ZWO brands.  After reading some superb reviews about how incredibly good the current generation One Shot Colour (OSC) CMOS cameras are nowadays, with their 16 bit depth, high resolution and high QE efficiency allied with very low read noise and zero amp glow I decided to take the plunge and order the QHY268C camera.   This camera offers incredible bang for the buck being based on a large APS-C sized, 26 million pixel sensor, the Sony IMX571.  This is the same sensor as that used in the superb Fujifilm XT-3 mirrorless camera. 

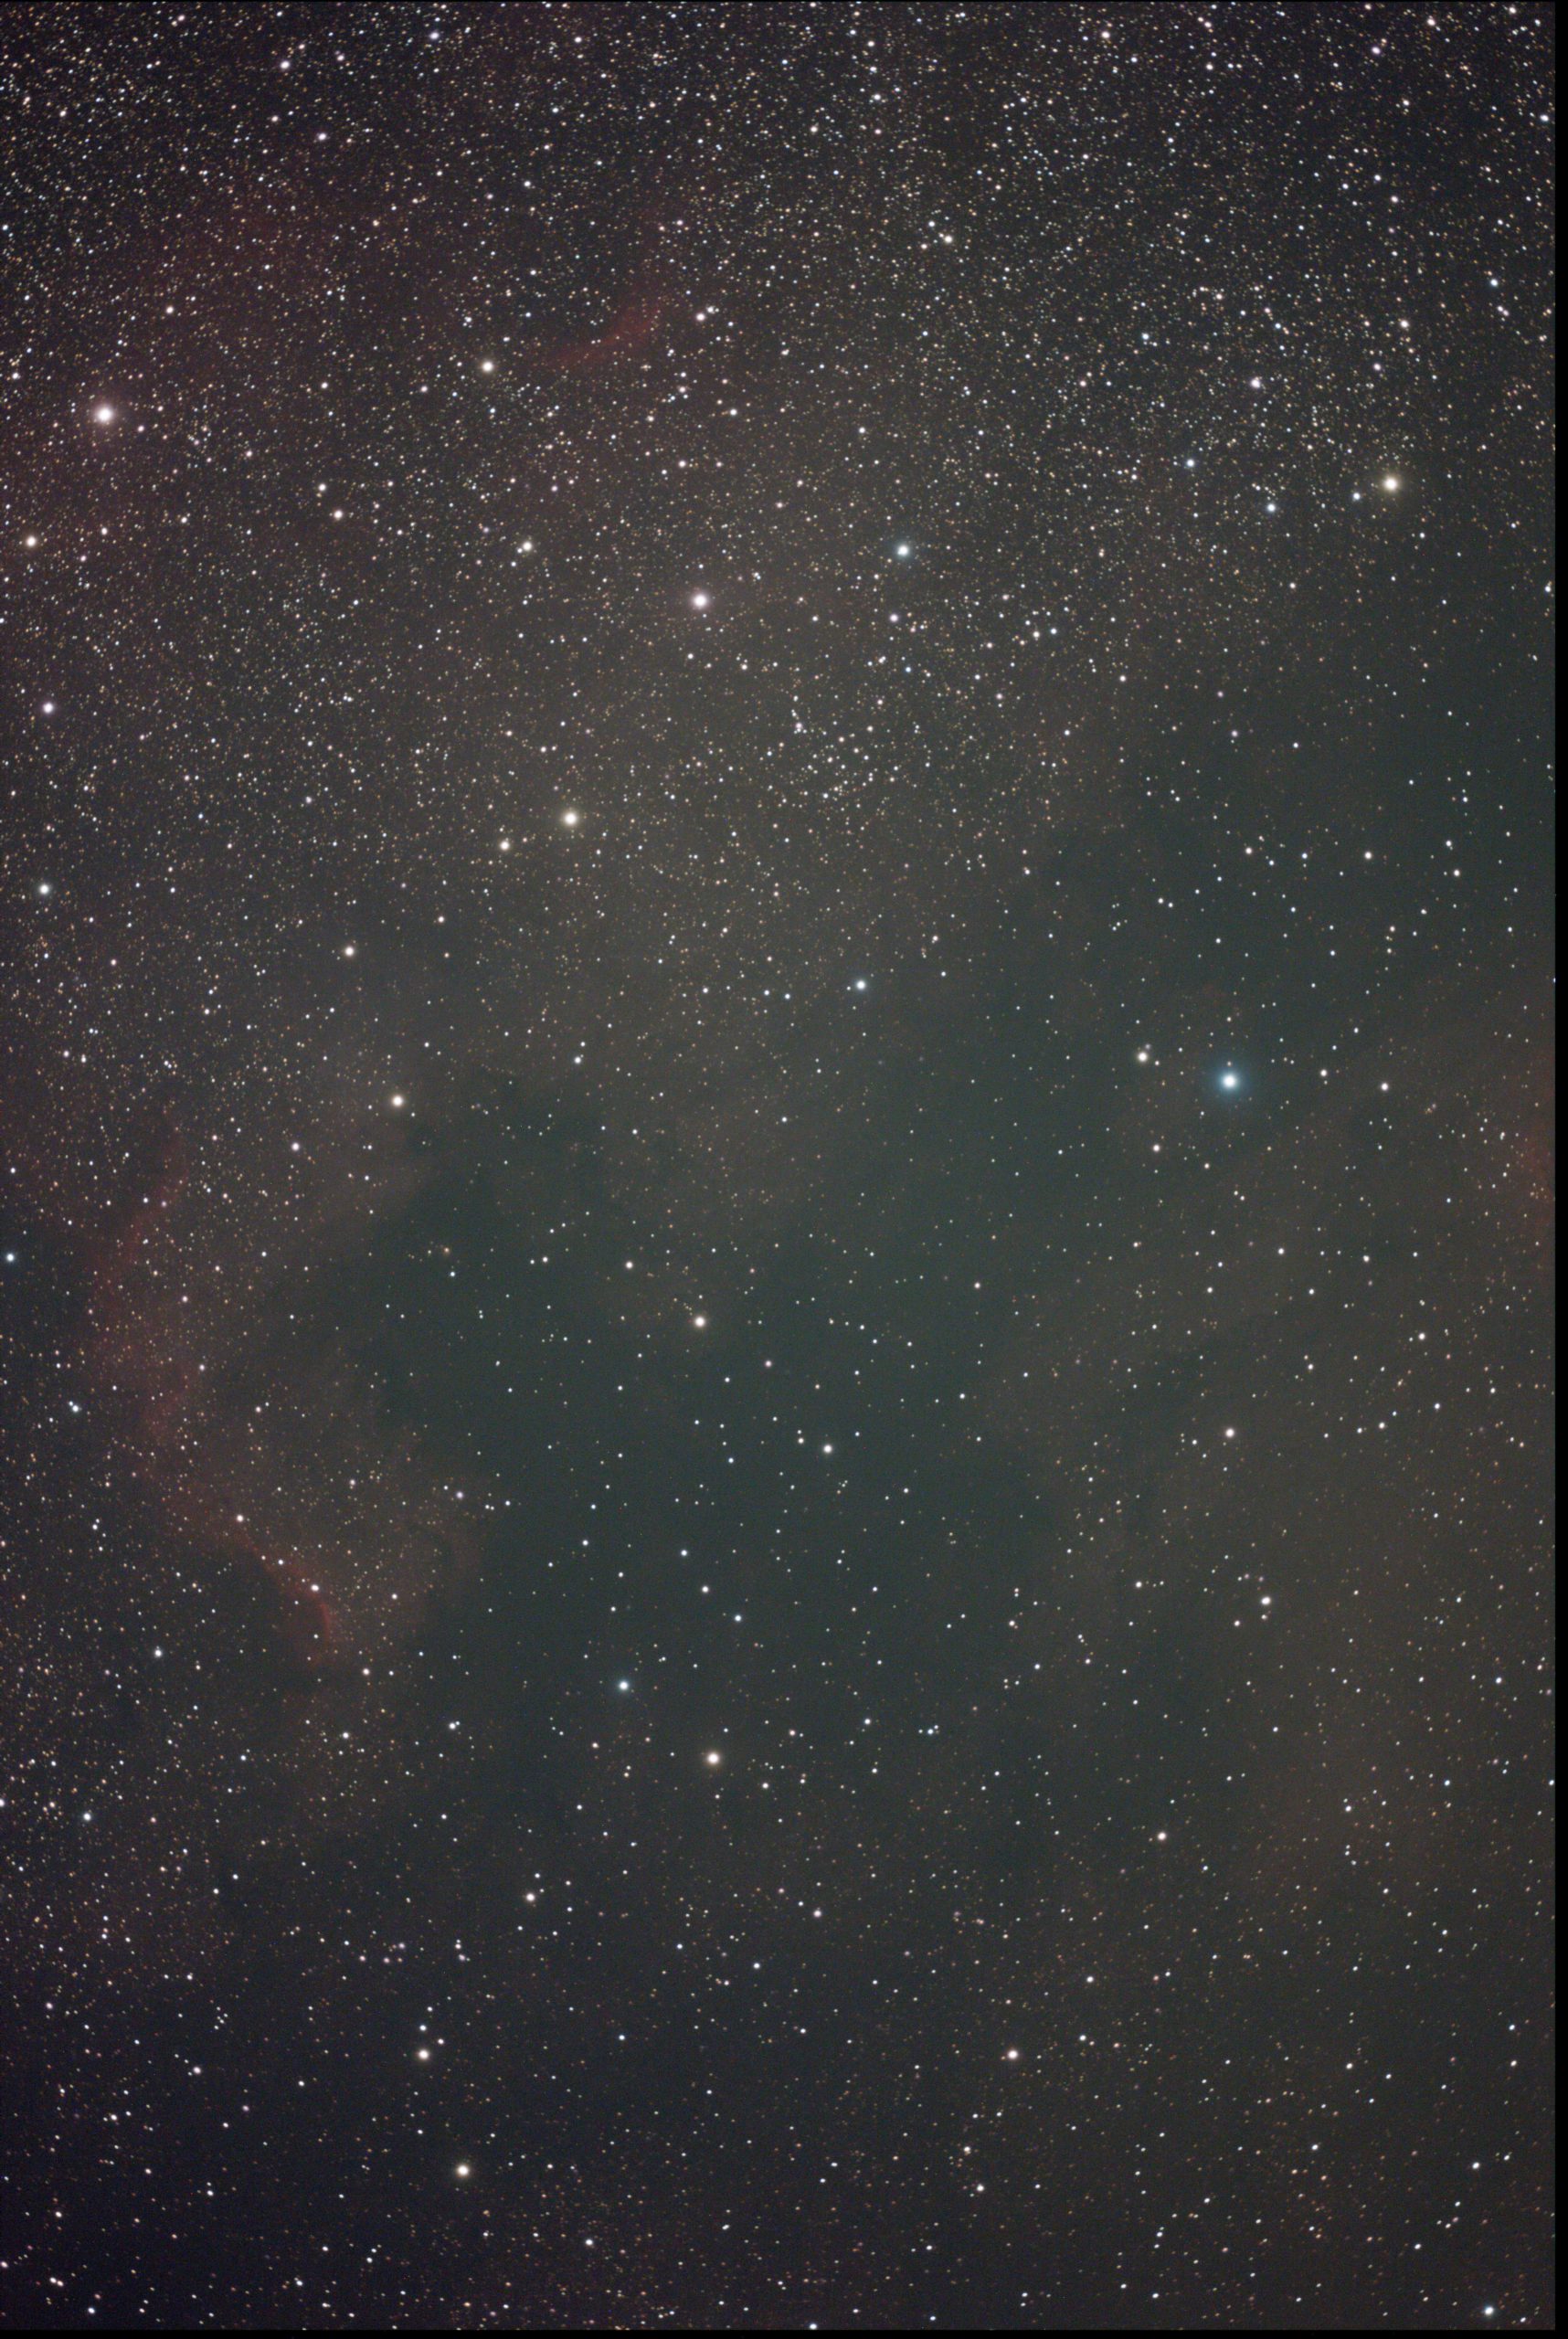
We are plagued with cloudy skies in the UK at the best of times and I do not want to invest in another mono camera with filters at this point.  I have so many half finished images with data sets missing a colour or two that it is sometimes taking me several years to finish an image, which is most frustrating as I am sure many of you know only too well.  You get partly through the run, with say the LRB filters done then the cloud rolls in for three weeks and at the end of that time the object has set behind the houses or trees for that particular year!   I want to be able to take images with just a light pollution filter and get something in the can in an evening or two when there is a clear period. This is my rationale for buying a OSC camera.  

At the time of this writing – September 2020 – I am aware that QHY and ZWO are working on APC-C sized mono cameras too and I may consider one of those in the future.  However, for now I wanted a OSC for this purchase. The resolution of the current generation OSC sensors is so high that even with their Bayer matrix, they are capable of very good narrowband imaging with the multiple wavelength narrowband filters from Otolong and others, for instance the L-Extreme filter. 

I understand and accept that ultimately, nothing will beat a mono sensor and the associated filters.  By going mono you are dedicating the entire sensor’s resolution and pixels to that one wavelength.  So with mono you will always, ultimately, gain a better resolution and S/N ratio.  Accepted.  However, that is in an ideal world.  I am very much removed from that ideal world nirvana.  Firstly, in the UK, I live in a cloud infested country underneath the junction of major Atlantic, European and Polar weather systems converging above with the jet stream running straight above me. Consequently I sometimes struggle to get two clear nights of imaging in a month.  It can often be much worse than that even and I have known winter seasons that were complete write-offs with only two or three nights across the entire season. As I alluded to before, collecting multiple filters worth of data to complete a broadband or composite image is simply not possible in reasonable timescales if a deep integration is needed.  In the past we would have to suffer this because the alternative, OSC, simply was nowhere near as good as mono.  That is no longer the case with the latest generation of OSC sensors from QHY and ZWO.  Secondly, with my skies and circumstances, I am never going to be able to “compete” with some of you guys who live in climates where more clear skies are available to spend the time on mono filter images.    I simply do not have that clear sky time and will never have the data quality to be an APOD contender.  I accept my limitations but still love the hobby of astrophotography for its own sake, not to be a champion.  This makes the latest generation of OSC cameras very attractive to me.

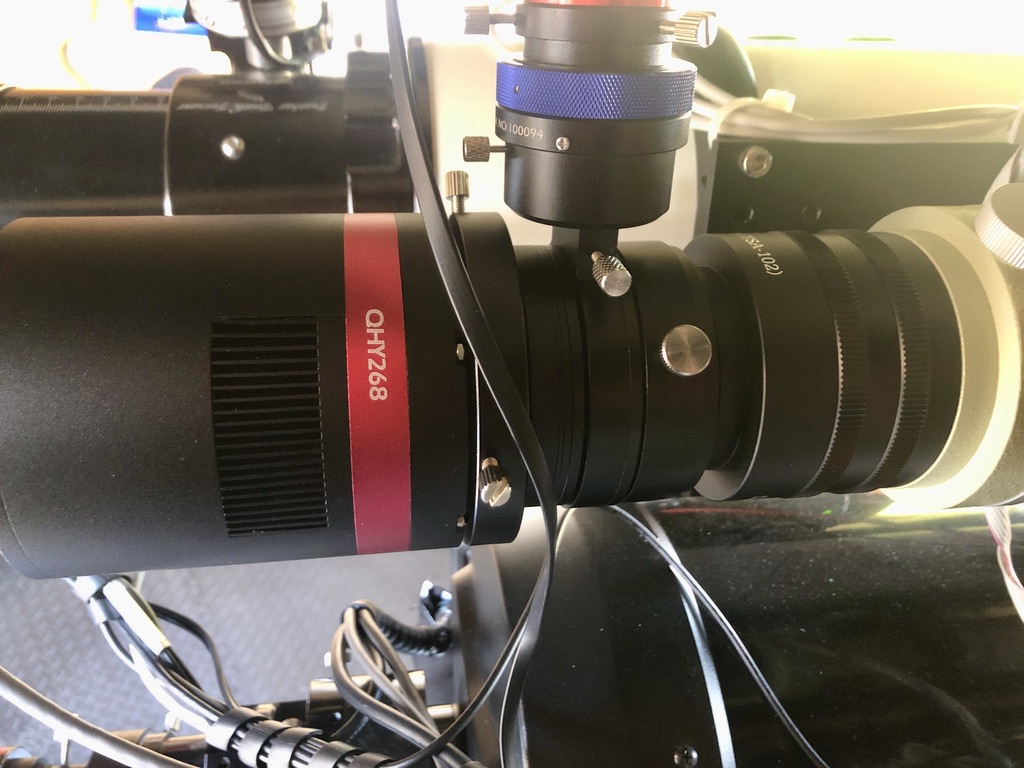
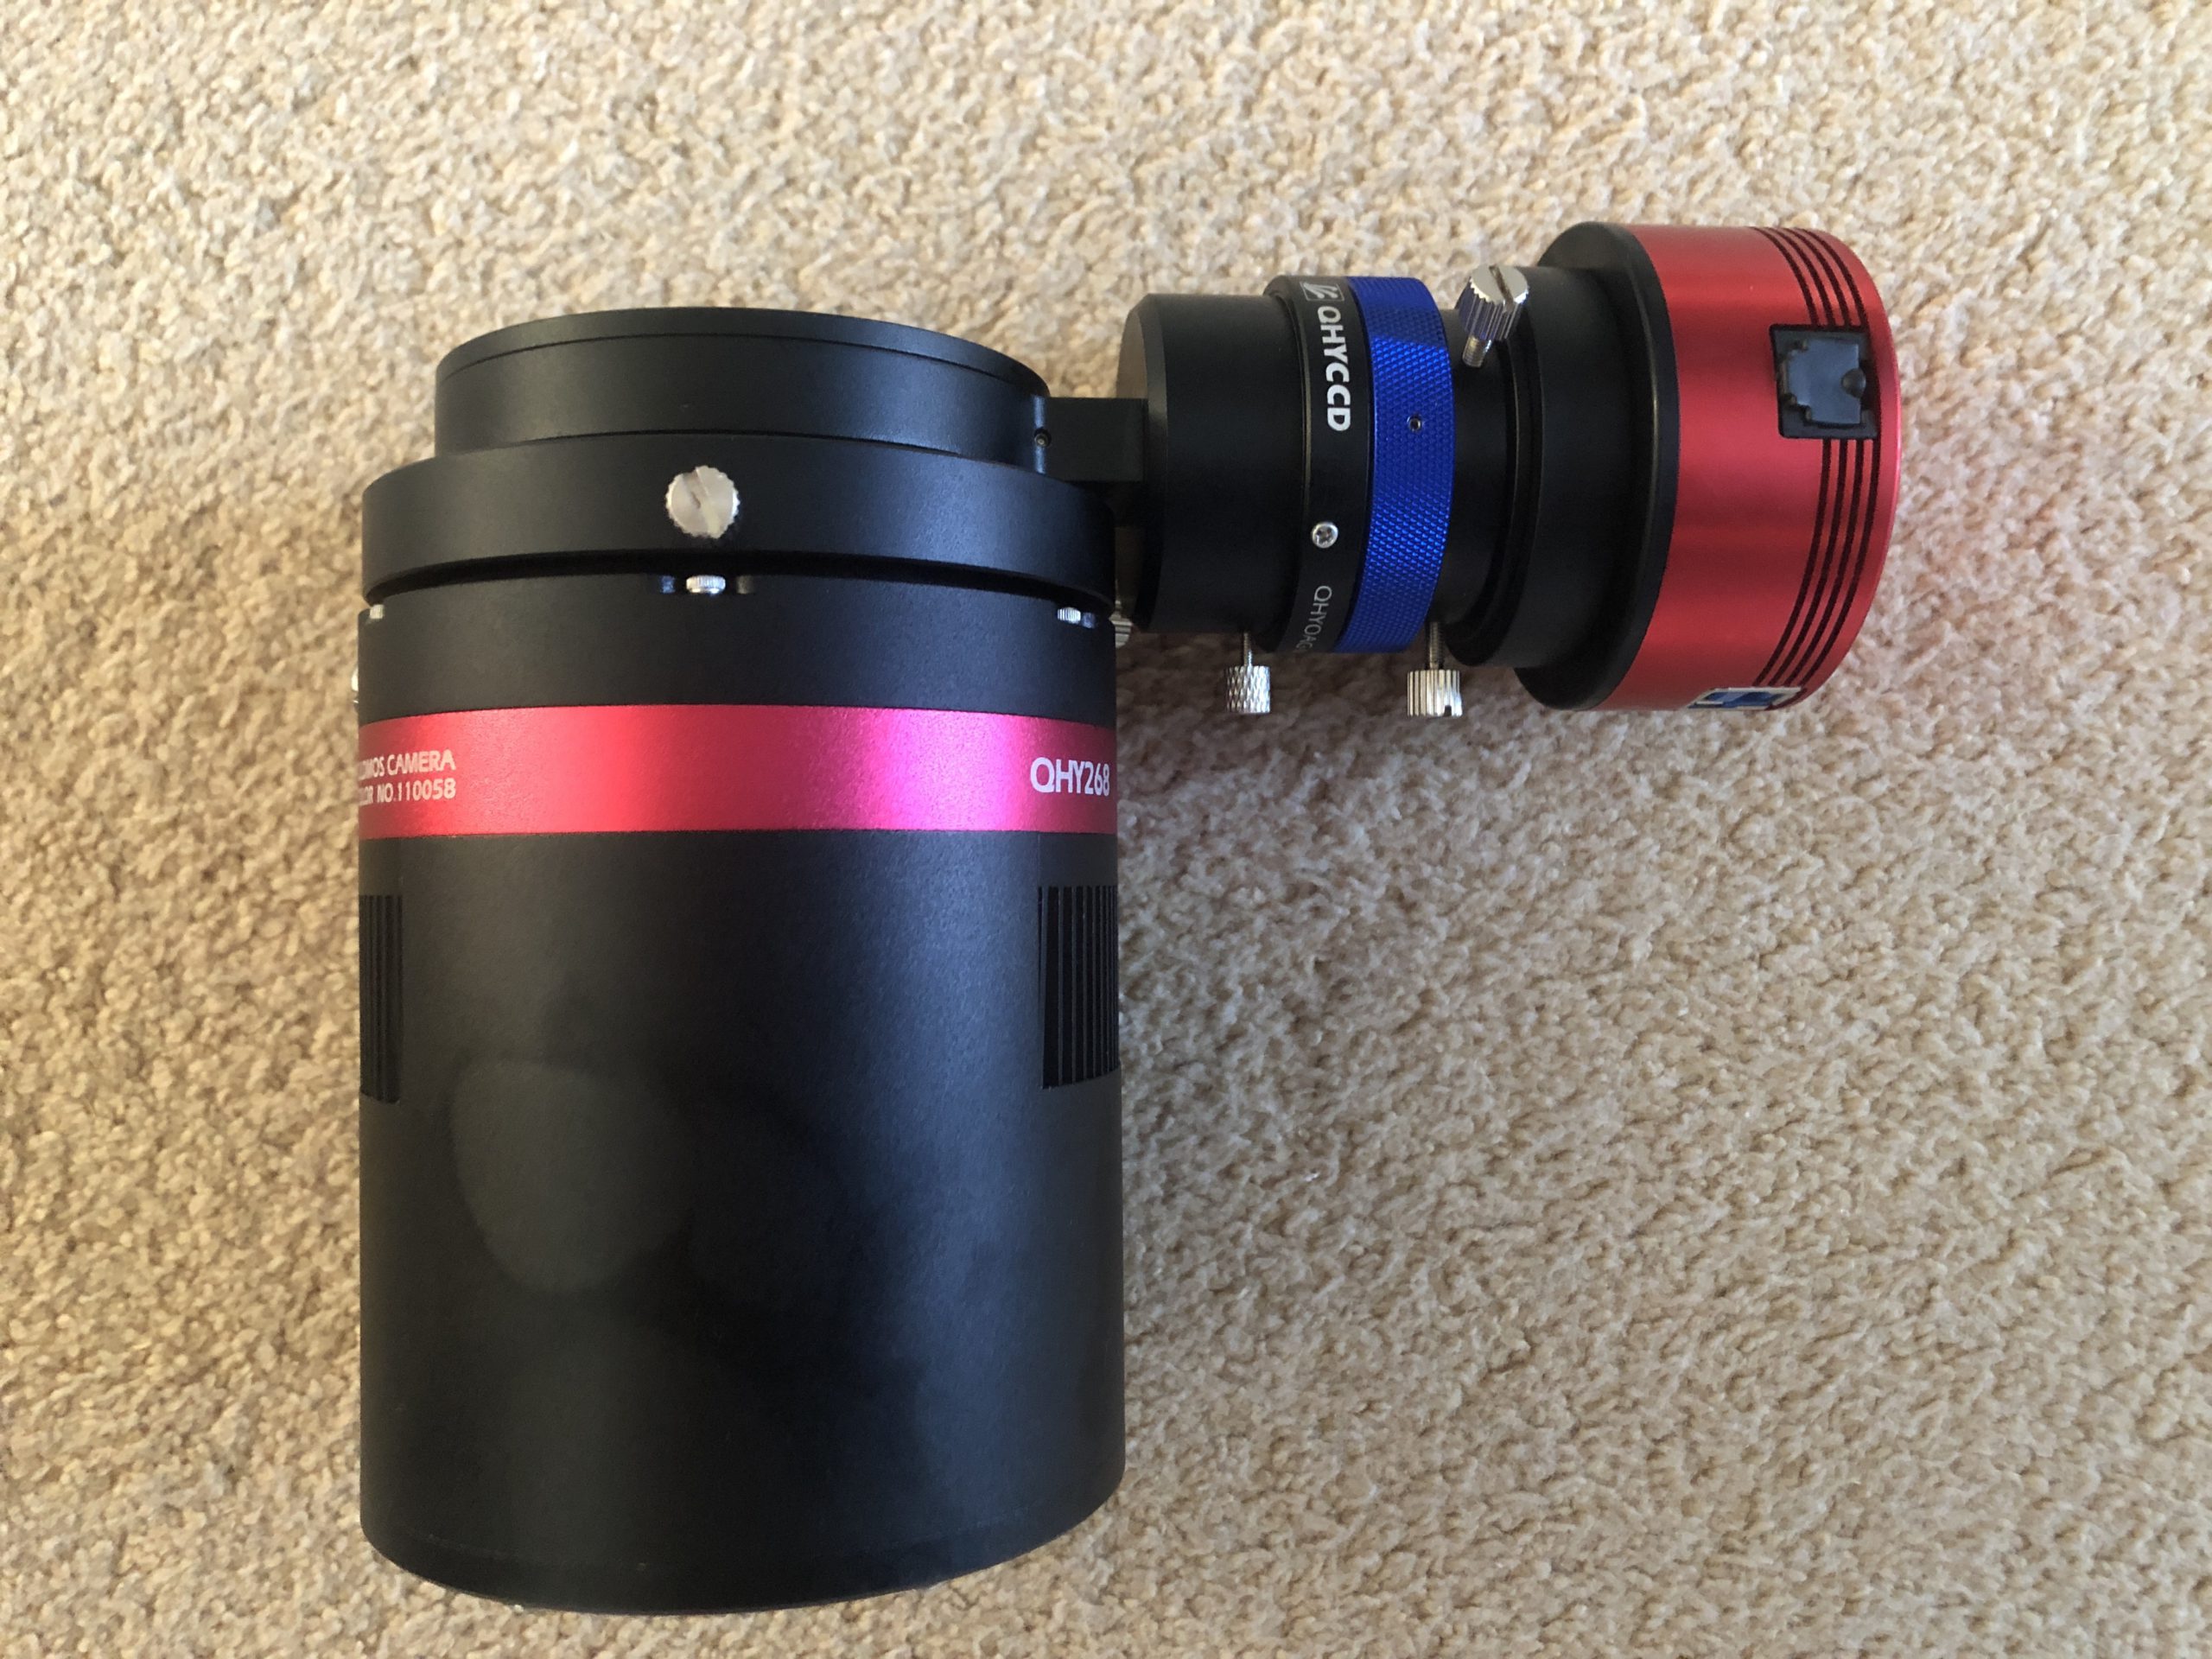
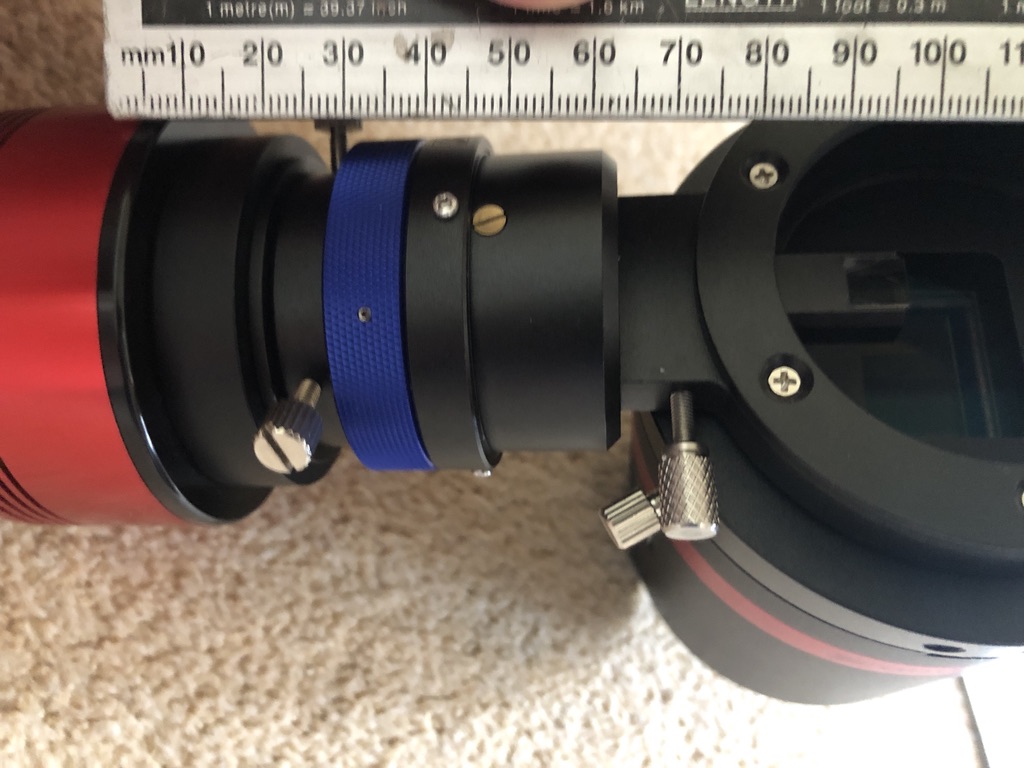
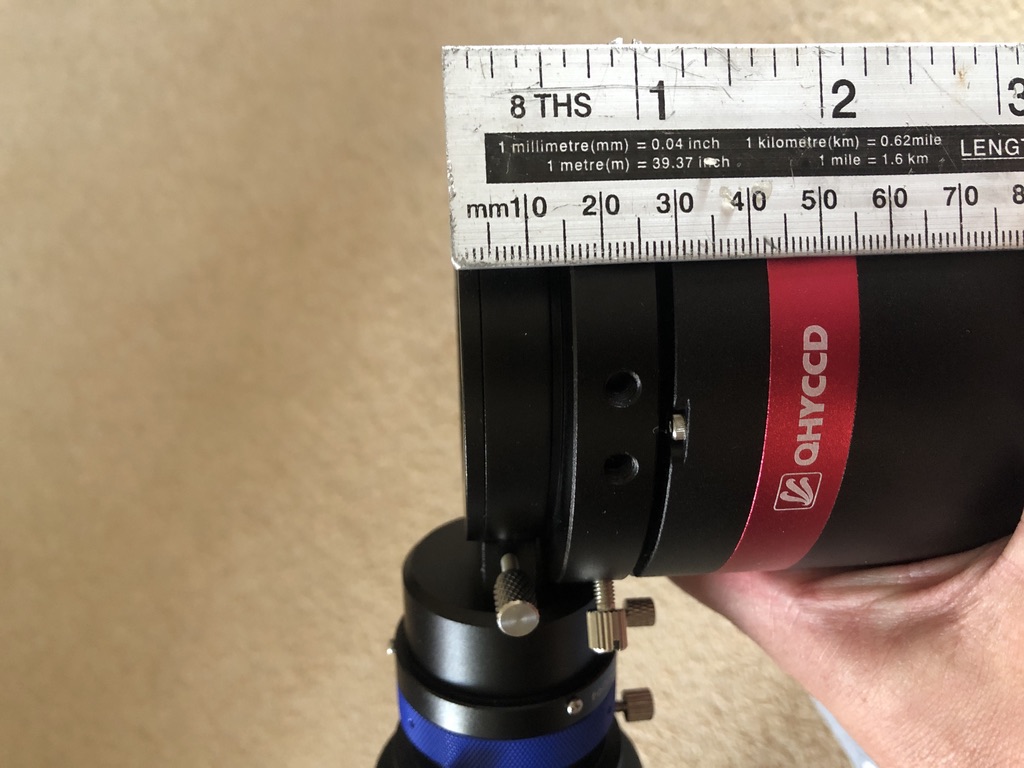
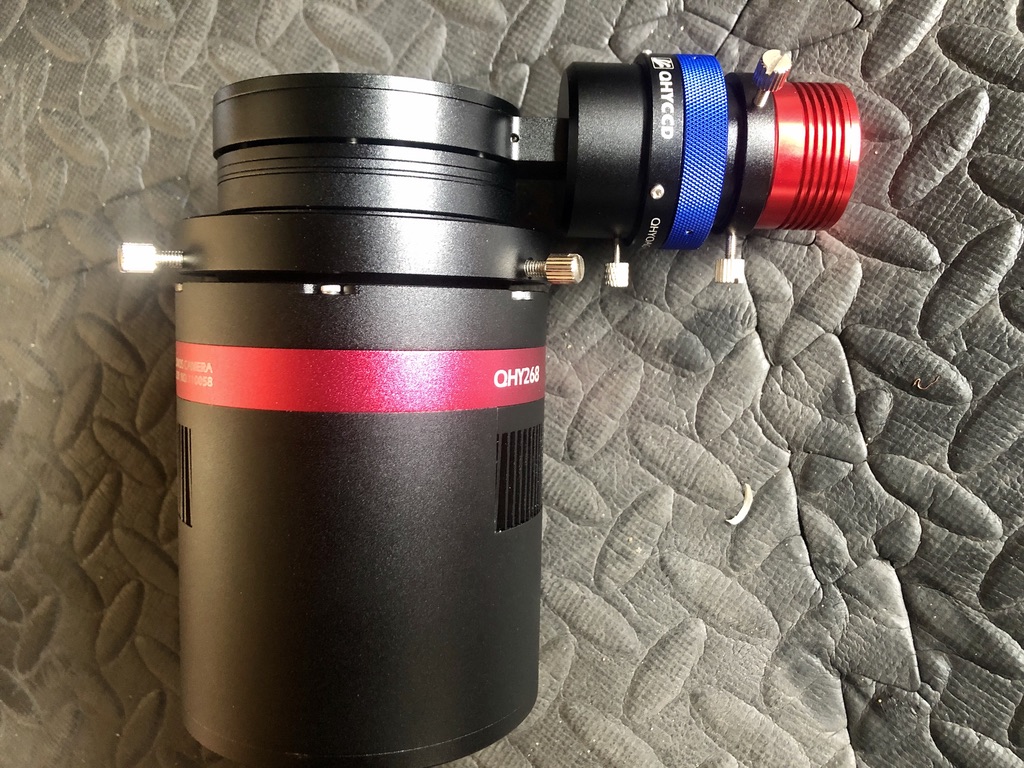
I bought this camera from Bern at Modern Astronomy together with the QHYOAG-M.  I want to off-axis guide the FSQ85 which this camera will be mostly connected to.  However, I also sometimes want to mount it on my Williams Optics Redcat 51 with the OAG, depending on the object target.  Both setups offer a superb, wide field with this camera.

The camera costs a princely £2049 with the OAG another £199.  Not insignificant sums by any standards. 

Receiving The Camera

The camera is shipped in a rather nice outer QHY cardboard box which is very sturdy.  The lid is shrink wrapped to protect it.  The box was immaculate, undamaged and had been protected in transit from Bern by being packed in an outer box with lots of packing.  I always keep the boxes of my stuff in case I ever decide to sell the stuff in the future as it makes it more desirably to a lot of folks.

The camera itself is protected in thick, Styrofoam moulded to its shape.  Underneath this tray holding the Styrofoam with the camera is a lower area with four boxes that include the spacers, power supply, power cable, cigarette light style power cable desiccant/holder.  It is all very neatly packaged.  I have no need of the power cable or supply and made my own power cable with a 2.5mm plug to connect into the 12v power distribution bar on my mount.

The camera is a solid, robustly built, quality item with a nice hefty feel to it without being overtly heavy.  The sensor seems huge compared to my other astronomy cameras!  Gone are the days with the tiny sensors!

So far, so good.  I’m impressed (and remain so, but more about that later 😉 ).

Connecting The OAG to the Camera - Attempt 1

I want to set up my QHY268C camera – a OSC as discussed – with the OAG, a QHYAG-M which presents an M54 thread. No need for a filter wheel in a colour camera (more on that later).

It took me a while to work out how to connect the OAG camera side to the tilt plate adapter that the camera body is held onto with three knurled thumb screws.  On the telescope side I am (for now) using a M54 to 2″ nosepiece adapter.  I then installed my puck style ASI174mm camera into the OAG, as indicated in the QHY OAG diagram, since the diagram implies that this arrangement will work.

QHY268C and OAG-M
Measurement of OAG distance
Measurement of QHY268C distance

I then tried to get the focus set up on my Takahashi FSQ85 to the main imaging camera and the guide camera.  This telescope has quite a long backfocus distance from the rear of the focuser housing to the point of focus, about 195mm, that I will discuss in another post.  However, with the the necessary [expensive] Takahashi adapters I got the main camera into focus using Sharpcap and my Lakeside autofocus.  Cool.  Then, firing up PhD2 I tried to focus the guidecam in the OAG.  Miles out of focus and after much cursing and fiddling with gain, offset and exposure of the ASI174M I measured the distance from the sensor of the guidecam compared to the distance of the main QHY268c imaging camera and as can be seen in the photos above, they are radically different.  The main imaging camera is about 42mm from the front of the nosepiece whereas the guidecam is the best part of 100mm – 58mm in difference!!!!!!  No wonder I cannot focus the guidecam, it is much too far from the focus point of the FSQ85!

Connecting The OAG to the Camera - Attempt 2

It had been a long day with this, work, the kids and other things.  After sleeping on it, after some head scratching and upon further thought, the distances are different  of course because the ASI174M is a “puck” style camera, its imaging chip is being held above the top of the OAG.  Clearly I need to use a 1.25′ “bullet” style guider where the chip is right at the front and can be inserted deep into the focuser of the OAG-M, thereby significantly shortening the distance from the guidecam chip to the FSQ85s focal plane.

As it happens, I have a ASI120MM mini guidecam on another rig so that I could test this theory.  So I installed this and I could start to see the blurred outline of the trees and houses that I was using to perform this  daytime test of focus of the QHY268C and the guidecam.  So with this bullet cam I was nearly in focus but not quite – it needed to be a bit nearer to focus still.  So using some of the spacers provided with the QHY268C and a bit of experimentation, I found I needed 13mm of extensions to “pad” out the OAG camera side to the camera.  Upon thinking about it, this makes sense because this padding would be where a filter wheel would be if one was installed!  I also needed to buy some 35mm M3 screws off of Ebay since the ones provided with the camera are not long enough.  You need six of them.  They cost pennies.

QHY268C ASI120MM
With bullet style guidecam and spacers
QHY268C Spacers Callipers
Thickness of spacers

As soon as I did this I could get the two cameras simultaneously focused.  Note however, that if you move the adjustable pickoff prism in the OAG, you will make the guidecam either nearer or further away (from the FSQ focal point) and may need to refocus the guidecam.  So it is important to get the pick-off prism adjusted so that it just clears the line of sight of the main camera’s imaging chip.  Otherwise you will get artefacts on your light frames. Flats will take care of this of course but it is better not to have the prism in the light path to the main imaging chip in the first place.

QHY268C FSQ85
Main QHY268C in focus
QHY268C Guidecam
Guide Camera in Focus

As is normally the case when wanting to test new gear, the weather is not cooperating at all.  I managed to get one 300s light frame in before it clouded over on the evening of Friday 25th September 2020 🙂 We’ve had no clear skies since then🙄.

It is an impressive start, all I did was unbayer the image in Pixinsight and then stretch it and boost the colours a bit.  Nothing else.

NAN_1st_300s_1x1
First light of QHY268C and Takahashi FSQ85

After quite a bit of fiddling about that took several hours I now have the main camera and the guide cameras in simultaneous focus on my FSQ85.  

I look forward to good things from this combination and will update my site with my latest thoughts.  So far, very early in my career with this camera, I am very impressed!

N.B.  These views of my QHY268C camera and OAG are mine.  No one paid me any money or offered me any discounts or services on anything astronomy or otherwise nor did they request I write this article.  I bought everything I use on my website with my own money and offer my thoughts, ideas and opinions to help others because I enjoy doing so, not for material or financial gain for myself.

Comments are closed.